
Setting up a meal plan
Set up a Recovery Record style meal plan for a new patient: pick the cadence mode, fill the six slots and optional targets, decide who edits, and build the shared grocery list.
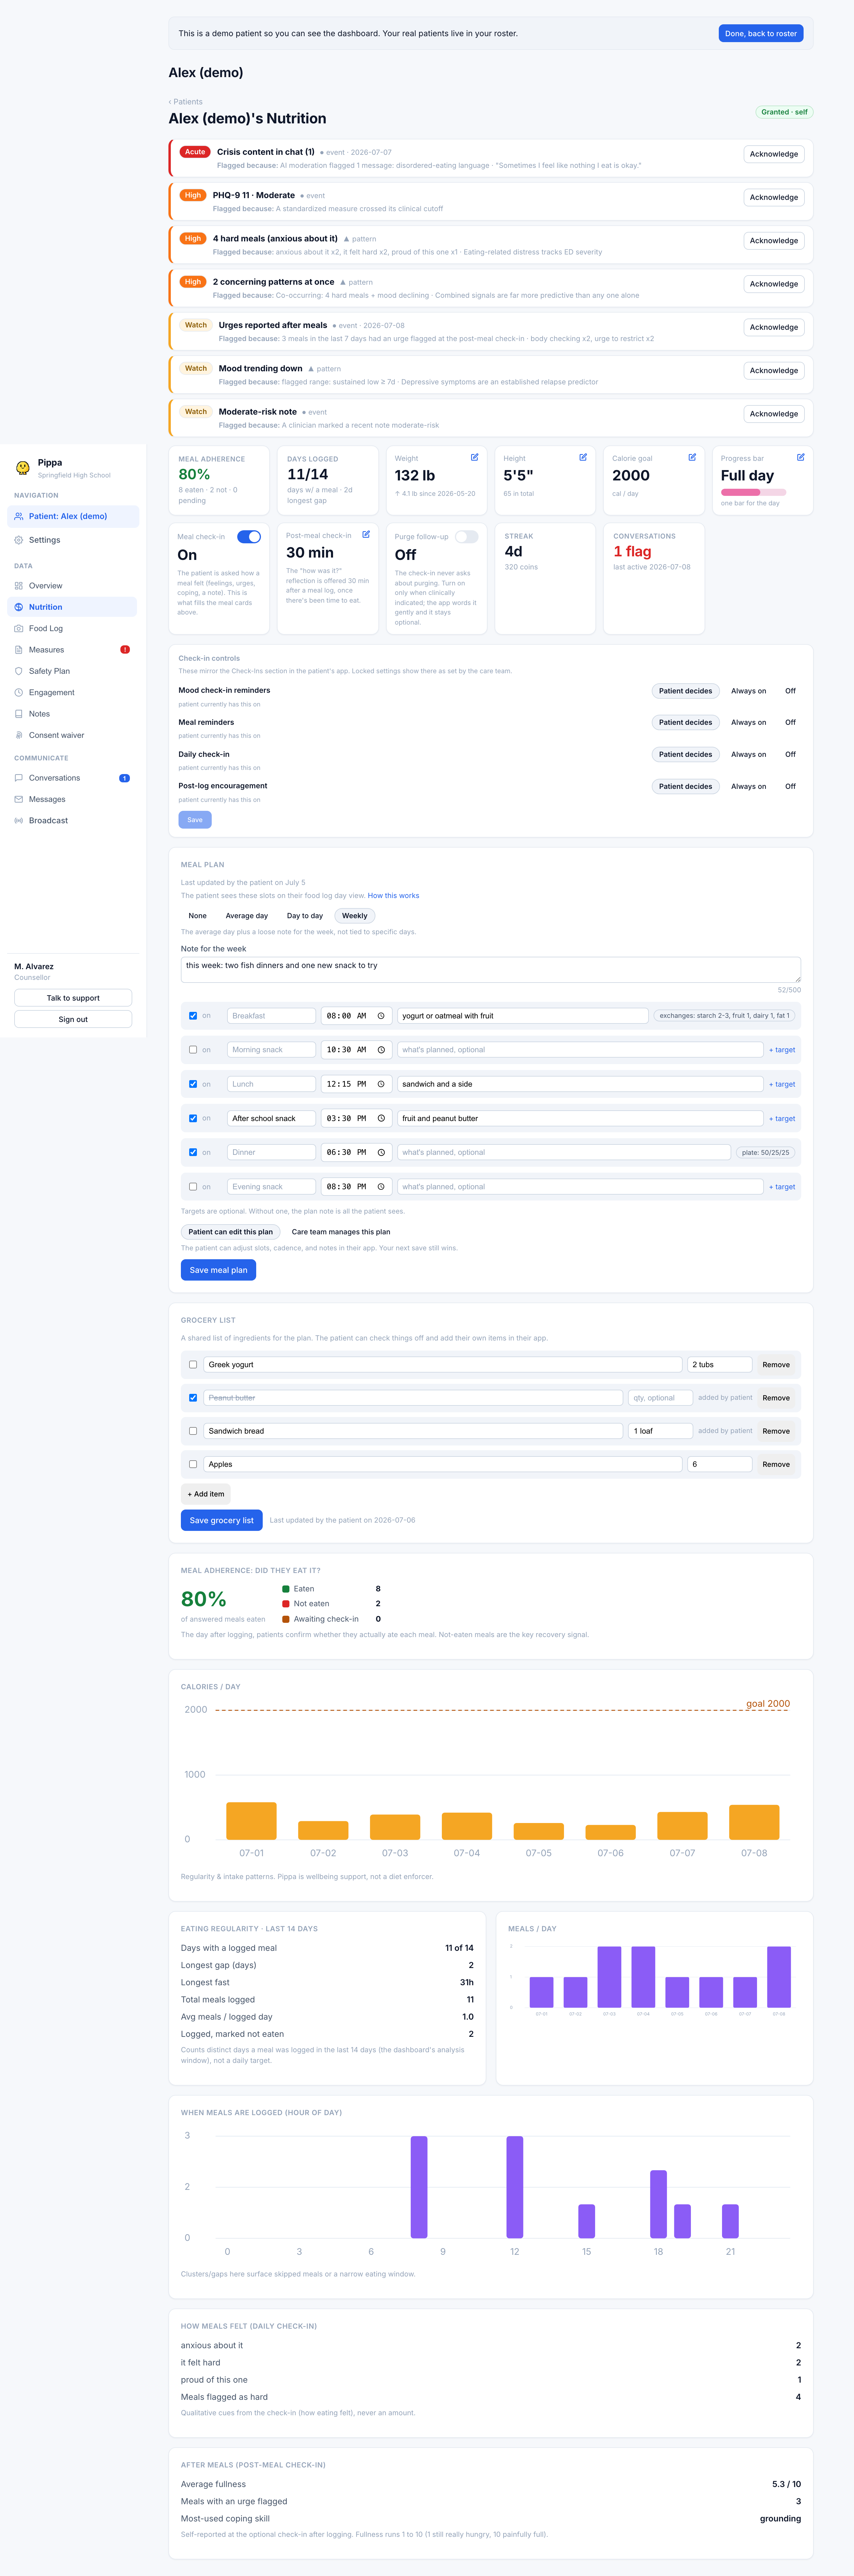
A meal plan gives the patient's food-log day view its structure: named slots, times, and what is planned for each. You build it on the Nutrition tab. This walks a first-time setup for a new patient.
The plan is built around six Recovery Record style slots and optional exchange or plate targets, never calorie numbers to the patient. Keep targets in the patient's language, not in numbers they should not be counting.
Step 1: pick the cadence
The cadence sets how the plan repeats across the week. Pick it first, since it changes what you fill in.
No structured plan from the care team. The app shows the patient's own slot times. Use this when the patient is not ready for a fixed plan.
One template day that applies every day. This is the usual starting point, and the default for a new plan.
A separate plan for each weekday, with the average day as the fallback for any day you do not give its own plan. Use this when weekends or a specific day look different.
The average day plus a loose note for the week, not tied to specific days, for example "this week: two fish dinners, try one new snack."
Step 2: fill the six slots
The plan has six fixed slots in day order: Breakfast, Morning snack, Lunch, Afternoon snack, Dinner, and Evening snack. By default breakfast, lunch, and dinner are on and the three snacks are off.
Toggle the on checkbox for each slot you want in the plan. For weight restoration, snacks matter, so turn them on rather than leaving three-meal gaps.
Give a slot a custom name if you like, and set its time. Leaving the name blank uses the default label.
If clock times work against a particular patient, you can hide them. Some patients read a stated time as a deadline and skip the 3pm snack entirely once 3pm has passed. Turn off Clock times on the meal plan in the patient's Care approach card and the plan becomes an ordered list of meals and snacks with no times, which the patient also cannot set. Gentle meal reminders still arrive around the usual times, so this removes the deadline, not the support. It is per patient, and on by default.
Use the plan field for what is actually planned, for example "toast + egg + fruit." This is the free text the patient sees. Targets are optional; without one, the plan note is all the patient sees.
Step 3: optional structured targets
Behind the + target link on each slot, you can add a dietitian-set target in one of two forms. Both are optional and never calories.
- Exchanges: counts (or a min-to-max range) for starch, fruit, veg, protein, dairy, fat, and fun food. Leave a group blank to skip it.
- Plate %: proportions as percents. Quick-fill templates give you Weight restoration 50 / 25 / 25 and Modified 33 / 33 / 33.
Step 4: decide who edits the plan
Choose whether the patient can adjust the plan in their app, or the care team manages it.
- Patient can edit this plan: the patient can change slots, cadence, and notes; your next save still wins.
- Care team manages this plan: the plan is read-only in the patient's app.
For a new patient in early recovery, keeping the plan care-team-managed removes the pressure of self-editing. You can hand editing back as they stabilize.
Press Save meal plan. The header records who last updated it and when, and the plan appears in the patient's app right away.
Step 5: build the shared grocery list
Below the plan is a shared grocery list. Add the ingredients the plan needs. The patient can check items off and add their own in the app. Saving here replaces the whole list, so pull the current items in before you edit if the patient has been adding to it. Items the patient added are labeled added by patient.